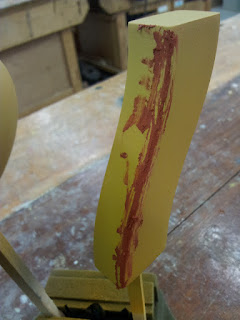
After sanding the pieces were sprayed with a specialised plastic primer. This would start to fill any holes and stop the paint from reacting with the plastic.
After the first coat it was obvious that a lot of work would be needed to achieve a high quality smooth finish. As you can see from the photos this is not the rounded final finish that i wanted. So again more sanding and spraying and sanding and spraying. This was repeated over 3 days leaving the model overnight each time for the paint to dry before sanding again the next day. Slowly the plastic started to resemble the finish i was aiming for.
But yet again i hit a problem. The plastic handle was starting to peel at the edges. Now it was time for the dreaded body filler. Again this was used to fill any gaps and get a smooth finish. Fill, wait for it to dry, sand and repeat. At the same time there were still some ridges in the upper part of the model so the top was filled at the same time. Yet again over another 3 days the model was filled and sanded


No comments:
Post a Comment