


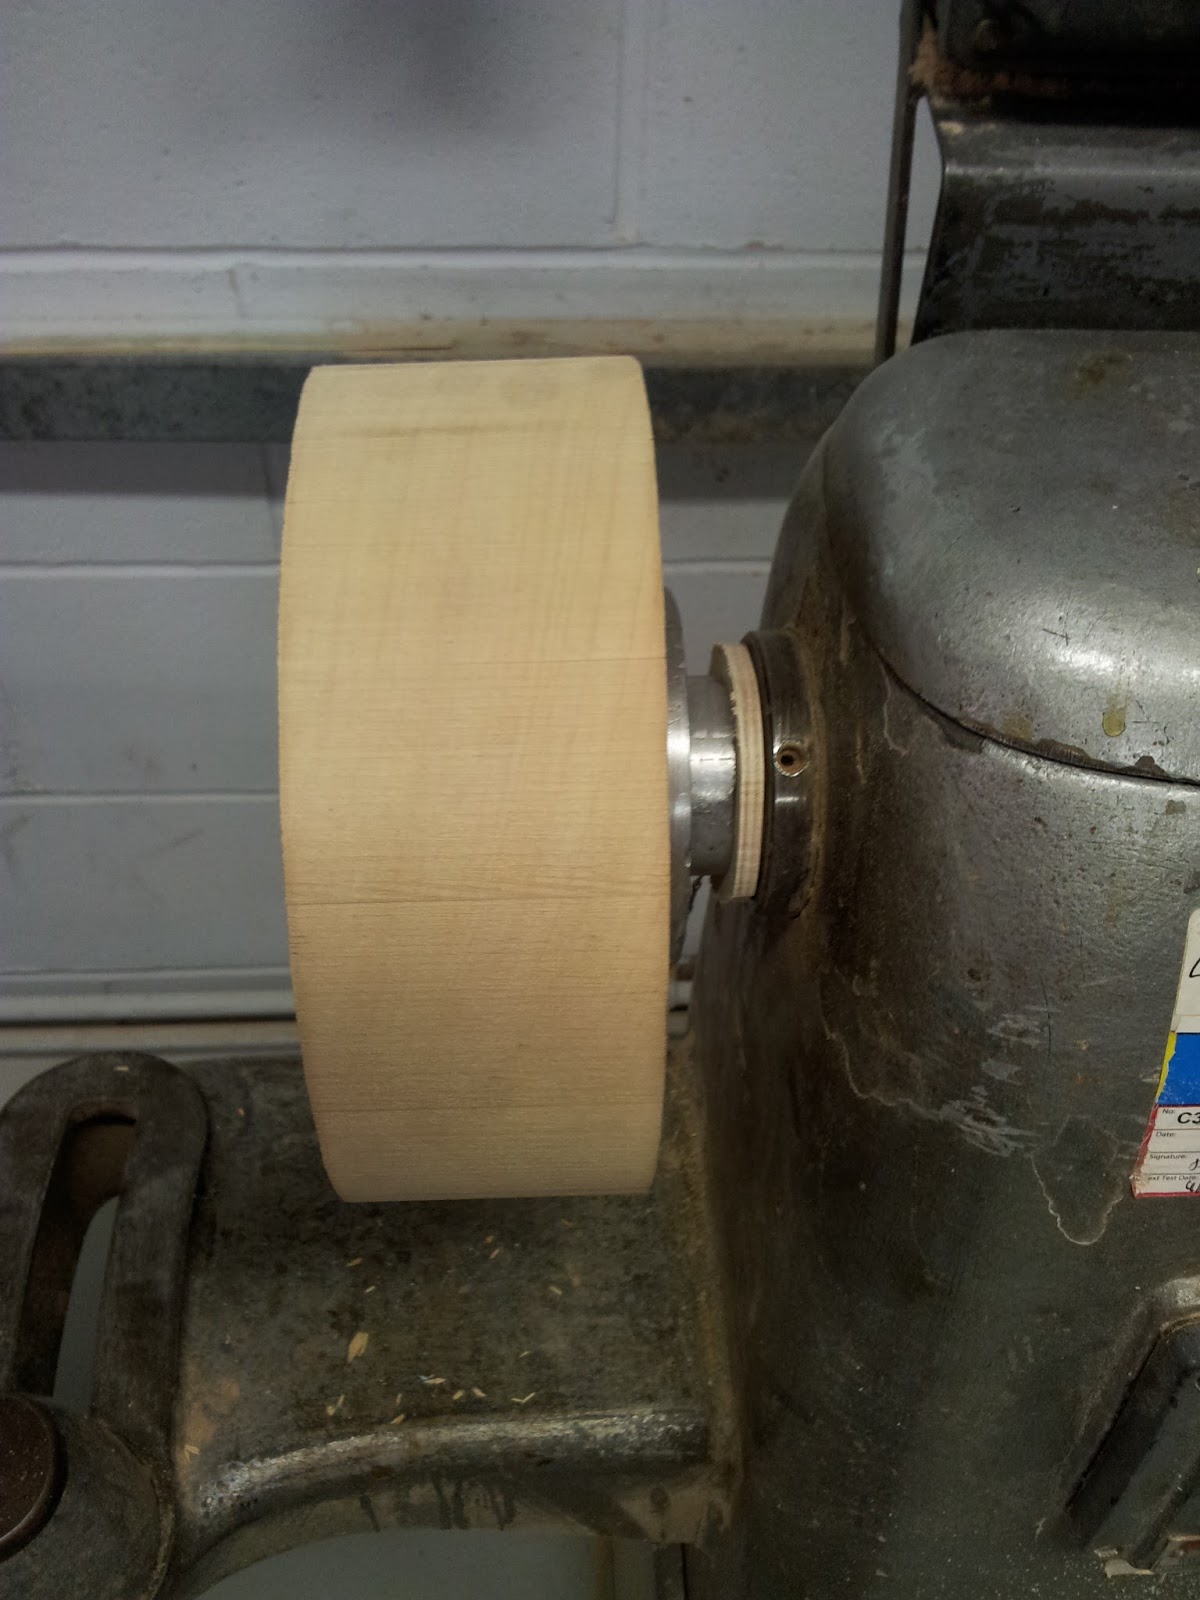
Again this was shaped into a dome so it could be cut away from the main body of the shape.
This was repeated a second time making sure that the diameter of the body remained constant. During the construction of the second dome i had to discard a piece of wood due to imperfections in the wood


In order to cut the domes from the main body of the wood i created a 90 degree jig. This would allow the wood to be mounted and secured while cutting the piece.

The angles of the jig were cut at 90 degrees and checked with a tri-square making sure that the front and rear face of the jig were parallel. This allowed the jig and dome to pass through the band saw and cut a perfectly straight line through the back of the shape creating a dome with a flat surface parallel to the apex of the dome.


after cutting the first dome the second dome was mounted onto the same jig. The diameter of the dome was measured using a pair of large calipers, this measurement was then transferred to the second shape and the jig was aligned to allow a couple of millimeters for error.


 Again this dome was cut from the main block of wood, to produce the following shapes.


